
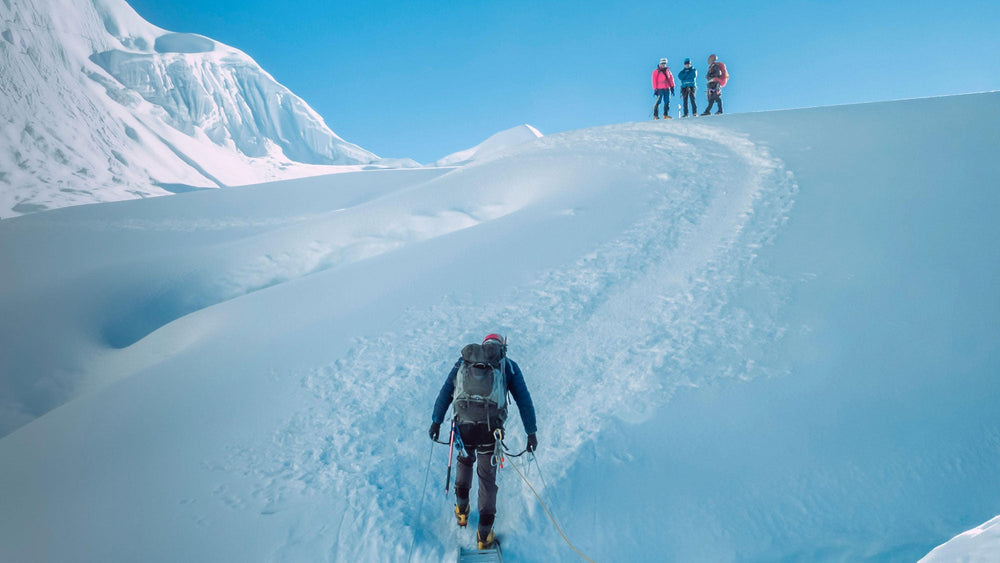

When you’re standing at the base of a glacier or kicking steps into a steep snow slope, your boots are the foundation of your safety and comfort. The wrong boots can lead to blisters, cold feet, or even a dangerous situation if they don’t fit your crampons properly. But with so many options on the market, how do you choose?
Start with the Terrain and Season
Mountaineering boots fall into three main categories based on stiffness and intended use. Understanding these will narrow your choices.
- B1 / Flexible boots : These are lightweight, often similar to backpacking boots but with slightly stiffer soles. They’re suitable for summer alpine routes, easy snowfields, and glacier walks where you only need crampons occasionally (strap‑on crampons only). If you’re just starting out on non‑technical peaks like Mount Adams’ South Side or beginner routes in the Rockies, B1 boots may be enough.
- B2 / Semi‑rigid boots : These have a midsole that provides significant stiffness, making them compatible with semi‑automatic (hybrid) crampons. They’re ideal for moderate snow and ice climbs, mountaineering routes with some scrambling, and spring alpine ascents. B2 boots offer a good balance between walkability and technical performance.
- B3 / Rigid boots : Fully rigid soles with a full steel shank. These boots are designed for technical ice climbing, waterfall ice, and steep alpine routes. They accept automatic (step‑in) crampons and provide the precision needed for front‑pointing. They’re heavier and less comfortable for long approaches, but if your goal is vertical ice or mixed climbs, B3 is the way to go.
Fit: The Make‑or‑Break Factor
Boot fit is intensely personal. Two people with the same shoe size may need different models. Here’s how to evaluate fit:
- Try them on with your climbing socks – Use the socks you’ll actually wear on the mountain. Thin merino liners plus a medium‑weight wool sock is a common combination.
- Heel lock : When you lace up, your heel should stay firmly in place with no lift. A slipping heel causes blisters and reduces control on steep terrain.
- Toe space : Stand on an incline (many shops have a ramp) or kick a wall lightly. Your toes should not jam against the front. You want about a thumb’s width of space when your heel is pressed back.
- Width and volume : Brands differ. Some are narrow (La Sportiva often runs narrow), others are wider (Scarpa’s “wide” lasts or Lowa). Try multiple brands to find what matches your foot shape.
Lacing Systems and Customization
Modern mountaineering boots often come with features to fine‑tune fit:
- Separate lower and upper zones allow you to keep the lower section snug while loosening the upper for walking comfort.
- Heel‑lock lacing (lace hooks) helps secure the heel.
- Some boots have removable or heat‑moldable liners for a custom fit—particularly useful if you have unique foot shapes or plan to use them for long expeditions.
Break Them In—But Not Too Much
Unlike leather hiking boots, many modern mountaineering boots use synthetic materials or integrated liners that require minimal break‑in. However, you still need to wear them on several training hikes with your pack weight to ensure no hot spots develop. Start with short walks and gradually increase load and distance.
Matching Crampons
Your boot choice dictates which crampons you can use. Always confirm compatibility before buying:
- B1 boots : Strap‑on crampons only.
- B2 boots : Semi‑automatic (heel lever with toe bail) or strap‑on.
- B3 boots : Fully automatic (step‑in) crampons.
If you already own crampons, bring them to the shop or check the manufacturer’s compatibility chart. Some boots may have specific toe welts that don’t work with certain crampon bindings.
Additional Considerations
- Insulation : If you’ll be climbing in winter conditions or at high altitudes, look for boots with built‑in insulation (Thinsulate, PrimaLoft, or integrated thermal liners). For summer alpine climbs, a non‑insulated or lightly insulated boot may be more comfortable.
- Sole pattern : Deep, aggressive lugs provide better grip on rock and scree during approaches.
- Weight : As a rough rule, every pound on your feet equals about five pounds on your back in terms of energy expenditure. If you plan long approaches, a lighter boot can make a big difference—as long as it still meets your technical needs.
When to Visit a Specialty Shop
If possible, buy your first pair from a shop with experienced mountaineering staff. They can assess your foot shape, explain the nuances of different brands, and let you try boots on a test ramp. A well‑fitted boot may cost more upfront, but it’s a fraction of the cost of a ruined climb—or an injury.